


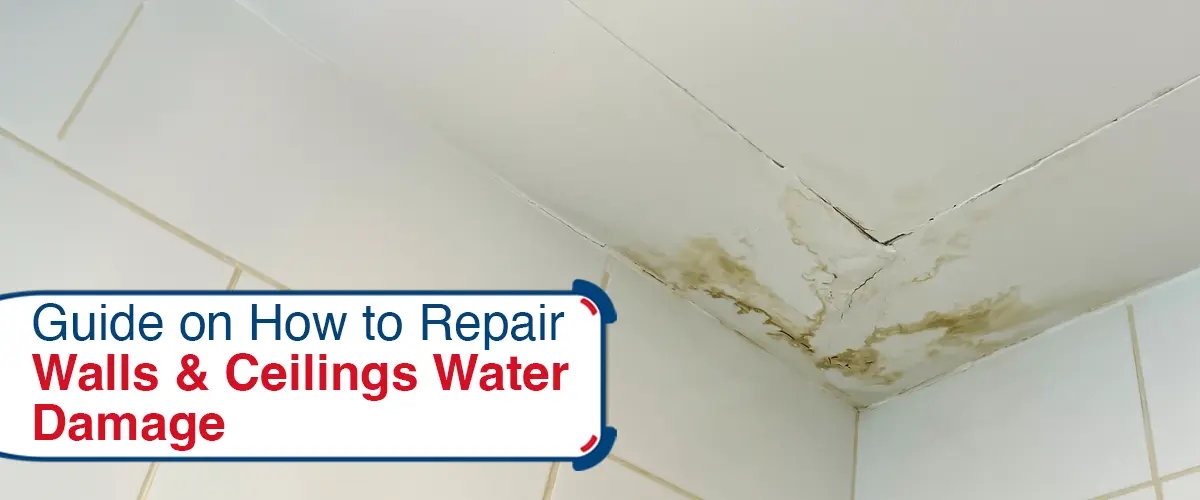
Water damage is a serious issue that can cause hidden problems in your home. Whether caused by a leaky roof, burst pipes, or other water-related issues, addressing water damage promptly can prevent further deterioration and maintain the aesthetic appeal of your home. In this comprehensive guide, we'll walk you through the steps to successfully repair walls and ceilings affected by water damage.

Fortunately, there are some steps you can take to fix the problem quickly. Before calling for the professionals like the residential water damage in Kansas City, here's how to repair walls and ceilings after they've been damaged by water:
1. Safety First: Assess the Situation
Before you begin any repairs, ensure your safety by turning off electricity to the affected area. Water and electricity can be a dangerous combination. Additionally, wear protective gear such as gloves and goggles to prevent direct contact with the damaged materials.
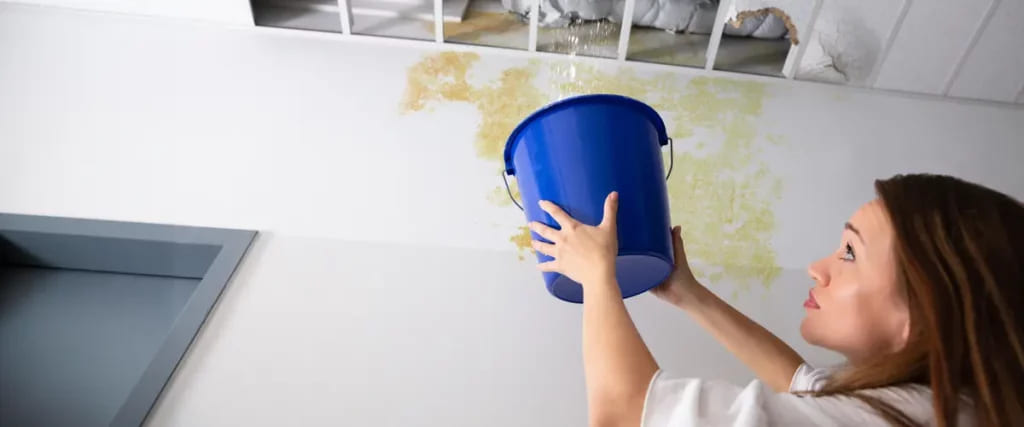
2. Identify the Source: Stop the Leak
Repairing walls and ceilings without addressing the source of the water intrusion is futile. Identify and fix the underlying cause of the water damage. Whether it's a leaky roof, plumbing issue, or poor ventilation, stopping the source will prevent future damage.
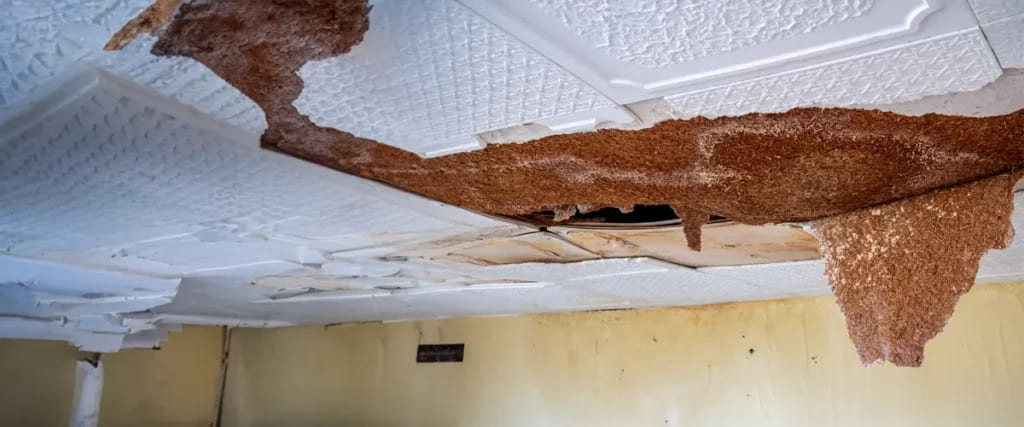
3. Remove Damaged Materials: Clean Slate
Carefully remove any waterlogged or damaged materials such as wet drywall, ceiling tiles, or insulation. These materials are prone to mold growth and can compromise the structural integrity of your home if left untreated. Dispose of them properly and thoroughly clean the area.
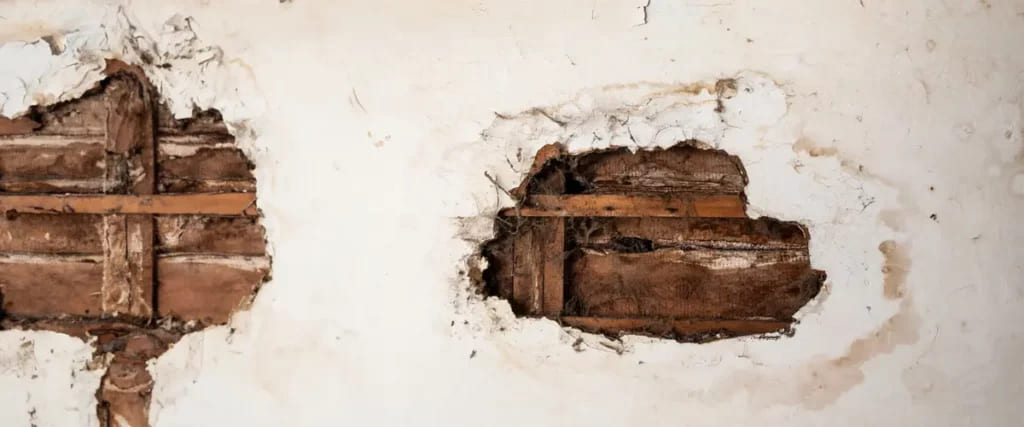
4. Dry Thoroughly: Banish Moisture
Proper drying is essential to prevent mold growth and further damage. To dry your space out you can:
- Use dehumidifiers and fans
- Open windows to facilitate air circulation and speed up the drying process.
- Monitor the humidity levels to ensure the area is thoroughly dried before proceeding.
To dry out and repair walls and ceilings, you'll need to:
- Remove any wet items.
- Place them in the sun to dry.
- You can also use fans to help air out the room more quickly.
Additionally, if you have a wet basement, make sure it's properly waterproofed before starting your repair work so that there's no chance for water damage in the future.
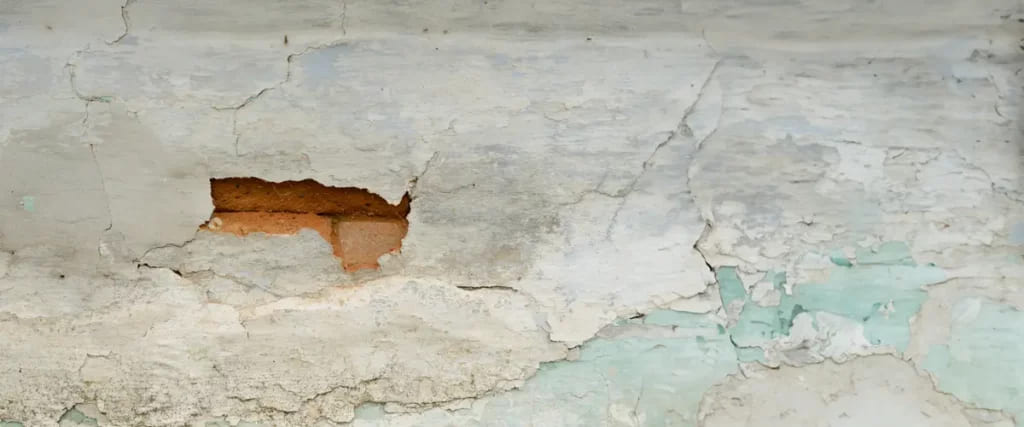
5. Next, patch up any holes or cracks on the drywall.
The next step is to patch up any holes or cracks on the drywall. To do this, you'll need to use a drywall compound. You can find this at your local hardware store and it comes in two forms: tape and mud. For small holes and cracks, we recommend using "mud." If you're repairing a larger hole or crack (say more than 1/2 inch), then it's best to use "tape" instead as it will fill in more space than just regular mud alone.
Here's how to apply it:
- Scoop some out with your putty knife into an empty container so that you don't have to keep going back into your bucket every time you want more material--this will save time!
- The amount of compound needed depends on how wide/deep your damage is.
- Generally speaking about three tablespoons should be enough for most jobs around 15 square feet total coverage area.
- Use a damp rag (not soaking wet) along with some water from another container so that when applied together it won't stick too much onto itself after spreading out thinly across surfaces such as walls/ceilings etcetera..
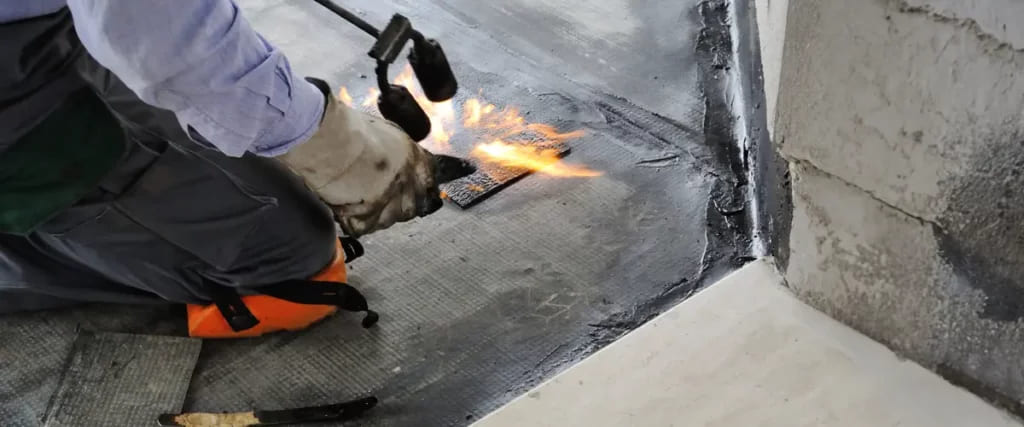
6. Waterproof before repainting patches.
If you are patching a wall or ceiling, first use a water repellent primer to seal the surface. Then, apply drywall compound and sand it down until smooth. Next, apply a paint specifically for drywall (or whatever type of wall/ceiling you have) and allow it to dry thoroughly before painting over it again with the color of choice.
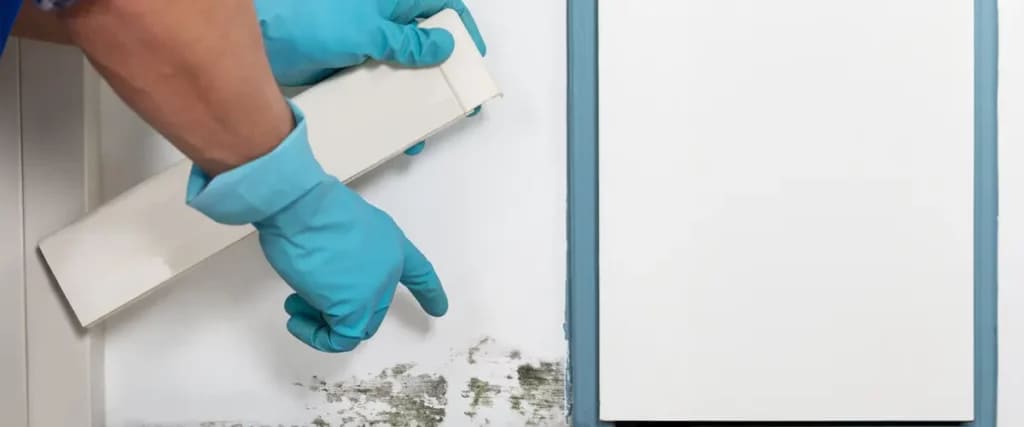
7. Treat for Mold: Vigilance Against Infestation
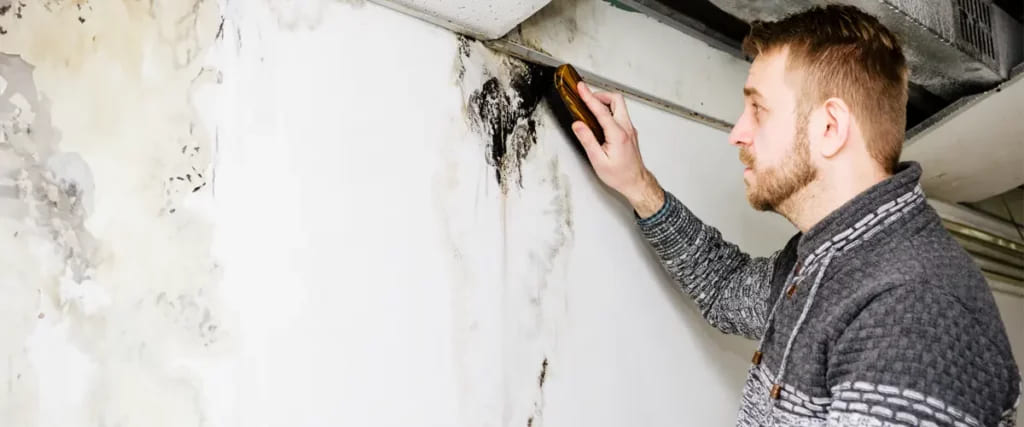
Even if you can't see it, moisture can lead to mold growth. Inspect the area for any signs of mold, such as a musty odor or discoloration. If mold is present, it's crucial to address it promptly. Clean the area with a mixture of water and mild detergent, and consider using a mold-killing solution.
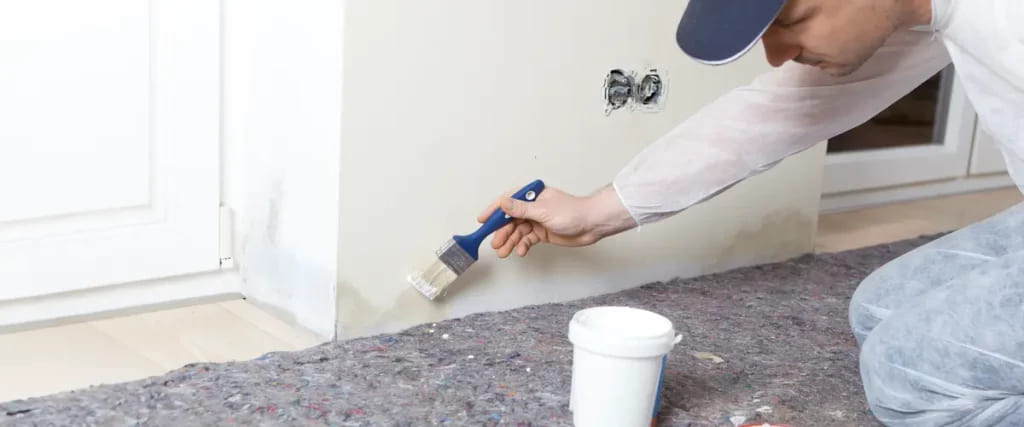
8. Prime and Paint: Restoring the Finish
After repairing or replacing the damaged materials, it's time to restore the aesthetic appeal. Apply a primer to the repaired area to ensure an even surface, and then paint to match the surrounding walls or ceiling. This step helps blend the repaired area seamlessly with the rest of the room.
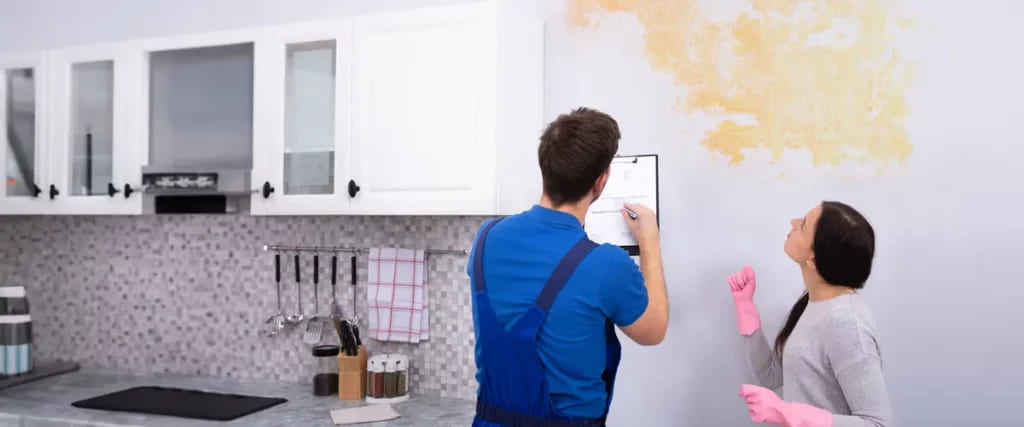
9. Inspect and Maintain: Future Prevention
Regularly inspect your home for any signs of water damage. Promptly address any leaks or issues to prevent further damage. Consider improving ventilation in areas prone to moisture accumulation, such as bathrooms and kitchens.
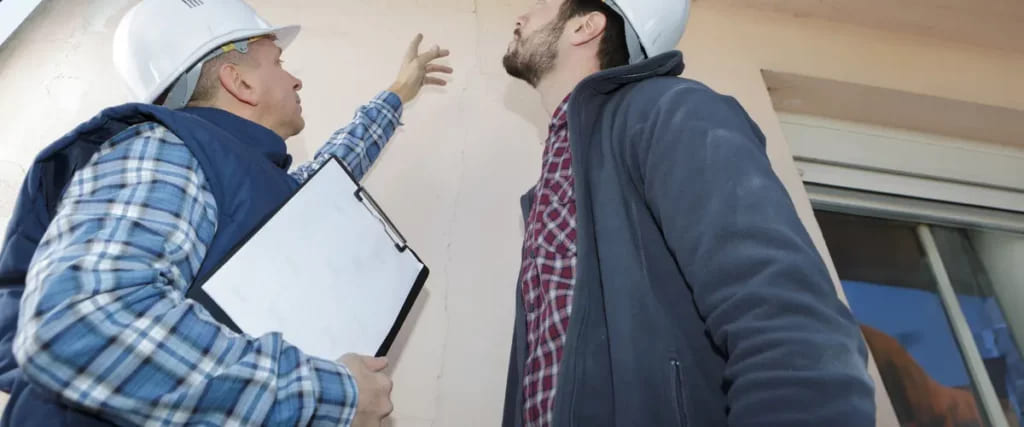
10. Seek Professional Help: Complex Cases
In cases of extensive water damage or if you're unsure about the repairs, don't hesitate to seek professional help. Water damage restoration experts have the necessary tools and expertise to tackle complex issues and ensure thorough restoration.
Repair Water Damage Beyond Aesthetics!
In conclusion, repairing walls and ceilings affected by water damage requires a systematic approach. From ensuring safety and stopping the source of the leak to thorough drying and waterproofing techniques, following these steps will help you effectively restore your home to its former glory. Remember, addressing water damage promptly not only preserves the aesthetics of your home but also prevents potential health hazards associated with mold growth. Water damage is never fun, but there are ways to fix it! We hope this guide has helped you understand the process of repairing walls and ceilings from water damage. If you have any questions or comments, please leave them below or call the trusted water damage experts in Kansas City.
